 EaseMate AI
The student
Creates a clean visual metaphor for a class presentation, with a restrained palette and plenty of open space for labels.
See EaseMate AI for students freeAI image creation
The EaseMate AI image generator turns a clear idea into an image direction you can explore, refine, and reuse. This guide covers the setup, a complete run, useful options, and common fixes.
Try the image generatorStart with intent
You do not need design software or a perfect prompt. You only need a subject, a reason for the image, and enough visual direction for the model to make useful choices. A reference image is optional, but it can help preserve a pose, composition, or product detail.
Name the person, object, scene, or concept that must remain visually important.
Add mood, lighting, color, camera angle, setting, and an intended audience or use.
Decide whether the result should feel photographic, illustrated, editorial, playful, or cinematic.
A repeatable workflow
Start with one useful brief, review the first direction, then improve only the part that feels wrong. Keep research and prompt development in EaseMate AI chat; move to an ai video generator when the finished visual needs motion.
Creates a clean visual metaphor for a class presentation, with a restrained palette and plenty of open space for labels.
See EaseMate AI for students freeExplores three thumbnail concepts for the same idea, changing only the focal object, background, and expression.
Use EaseMate AI chat for prompt ideasBuilds early campaign concepts before a photo shoot, testing color stories and visual hierarchy without slowing the brief.
Try an image to image AI generator workflowGenerates a strong establishing frame, then uses it as a visual anchor for a short scene or animated sequence.
Move from image to video generator conceptsCreates a small set of consistent illustrations for a landing page, keeping the tone recognizable across each section.
Pair visuals with an AI video generatorPlan the batch
Use this small planning calculator to estimate the scale of a visual exploration. It treats each variation as a separate draft and keeps the assumptions visible rather than presenting a vague promise about speed.
Formula: each draft is estimated at 1.2 MB and compared with 3.5 minutes of manual concept setup. Actual file size and time vary by project.
Improve the brief
Weak results usually come from competing instructions, missing context, or a subject that is too vague. If the image feels generic, add a specific setting and lighting direction. If the composition is crowded, name one focal point and remove decorative details. If text inside the image is unreliable, reserve typography for a later editing step.
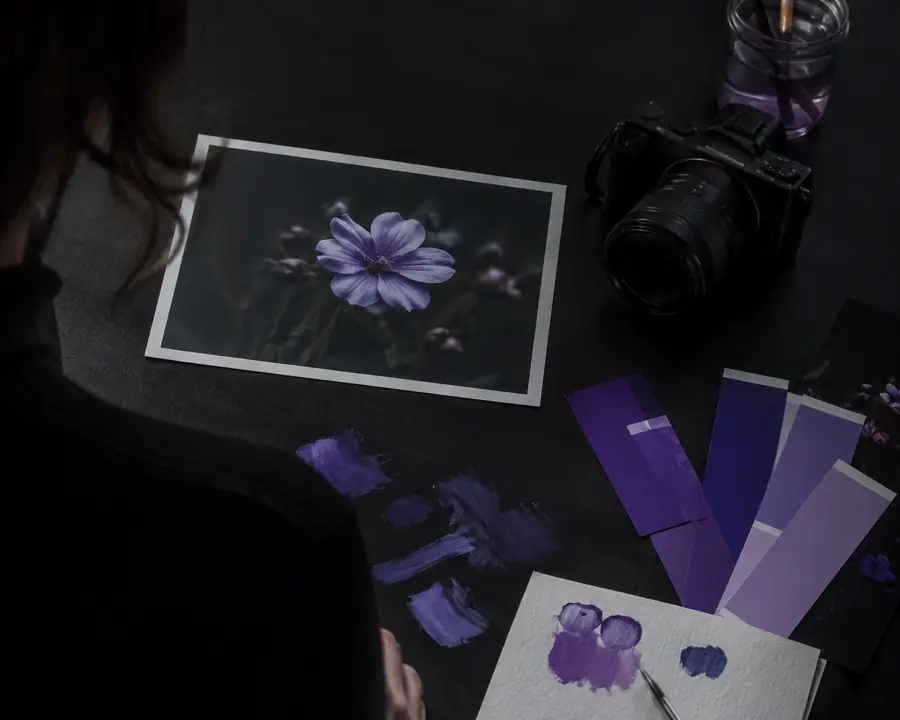
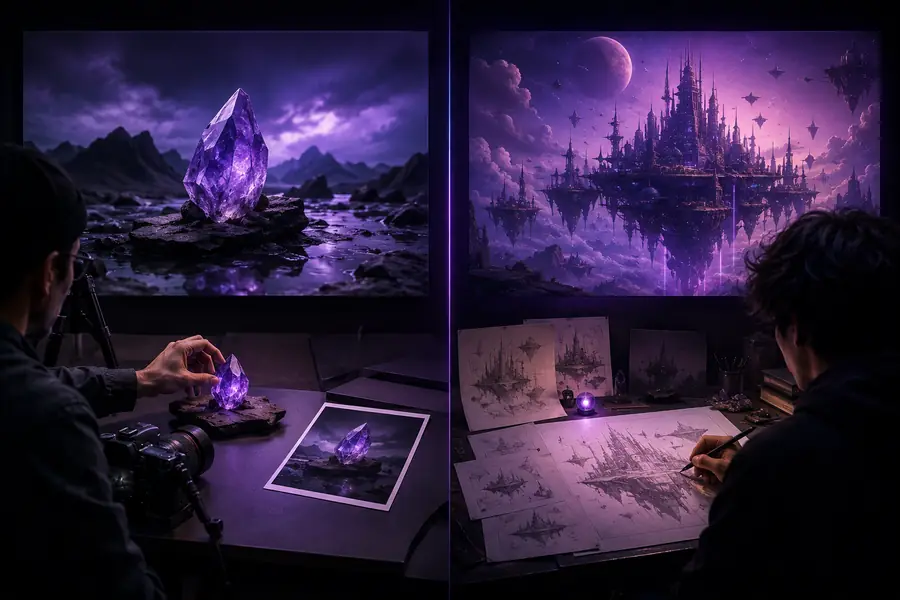
Before and after are best treated as prompt iterations: preserve what works, then change one variable at a time so you know why the new result is better.
Prompt planning reference
This side-by-side view clarifies where the image workflow helps most and where human judgment still matters.
| Attribute | EaseMate AI workflow | Starting from scratch |
|---|---|---|
| Brief input | Prompt-led | Blank canvas |
| Reference image | Optional | Manual import |
| Style exploration | Fast variations | One direction at a time |
| Iteration | Change the prompt | Redo edits manually |
| Best use | Concepts and drafts | Pixel-level finishing |
| Human review | Always recommended | Always required |
Keep exploring
At a glance
It is a prompt-led visual tool for turning written ideas, creative directions, and optional references into image concepts that can be reviewed and refined.
Include the main subject first, followed by the setting, mood, lighting, composition, color direction, and the visual style you want to explore.
A reference can help communicate pose, layout, or visual context. Add it when consistency matters, then describe what should change so the intended result remains clear.
Replace broad adjectives with concrete details: name the location, time of day, materials, camera angle, color palette, and one clear focal point. Iterate one change at a time.