 EaseMate AI
EaseMate AI video tutorial
How to use EaseMate AI video generator: a practical tutorial
If you are learning how to use EaseMate AI video generator, this guide gives you a simple path from idea to finished clip. You will prepare a strong input, set motion direction, review the result, and make focused refinements without needing advanced editing experience.
Prerequisites
A successful generation starts before you press create. Choose a sharp image with a clear subject, decide what should move, and describe the camera or character action in plain language. Short prompts are often easier to control than paragraphs filled with unrelated instructions. It also helps to know the intended destination: a vertical social clip, a landscape presentation scene, or a looping visual will each benefit from different framing.
Numbered steps
-
Choose the starting frame
Upload a well-lit image where the main subject is easy to identify. Keep important faces, products, and text away from the edges so motion has room to develop.
-
Describe the motion
Explain one primary action, such as “slowly pan toward the subject” or “let the leaves move in a gentle breeze.” Add speed, direction, and mood only when they support that action.
-
Generate a first draft
Start with the default settings and inspect the whole clip. Look for unwanted warping, frozen details, abrupt camera movement, or a subject that changes shape between frames.
-
Refine and export
Change one variable at a time. If the motion is too strong, simplify the prompt; if it feels static, add a specific camera move. Export only after the timing and framing feel intentional.
Troubleshooting checklist
Common errors and fixes
Most weak results come from an unclear source, competing instructions, or expectations that exceed the starting frame. Use this checklist before changing several settings at once. It separates the conditions that matter for every render from optional improvements that can make a polished video generator workflow more consistent.
- Use a sharp, well-composed source image with one obvious subject.
- Describe one main movement instead of asking for several unrelated actions.
- Keep faces, hands, logos, and fine patterns away from extreme motion.
- Add a camera direction such as pan, tilt, push-in, or pull-back.
- Match the image orientation to the final social, presentation, or mobile format.
- Test a shorter prompt first when the subject changes shape or disappears.
Warping
Reduce movement and remove extra adjectives before trying a new image.
Frozen clip
Name the moving element directly and give it a gentle, visible action.
Noisy result
Use a cleaner source frame and avoid forcing text or intricate details to animate.
Make each generation more deliberate
Advanced tips
Once the basic workflow feels comfortable, use prompts as a sequence of creative decisions. Start with the subject, then state the action, followed by camera behavior and atmosphere. For example, “a ceramic cup on a wooden table, steam rises slowly, gentle push-in, warm morning light” gives the model a clearer hierarchy than a long list of cinematic terms. For a more ambitious project, create several short shots and assemble them later rather than asking one clip to tell an entire story.
If you want to move from a still image into a broader sequence, compare the workflow with an image to video generator. For prompt brainstorming, an EaseMate AI chat session can help you turn a rough concept into concise motion directions before you generate.
Review the finished clip
Visual quality check
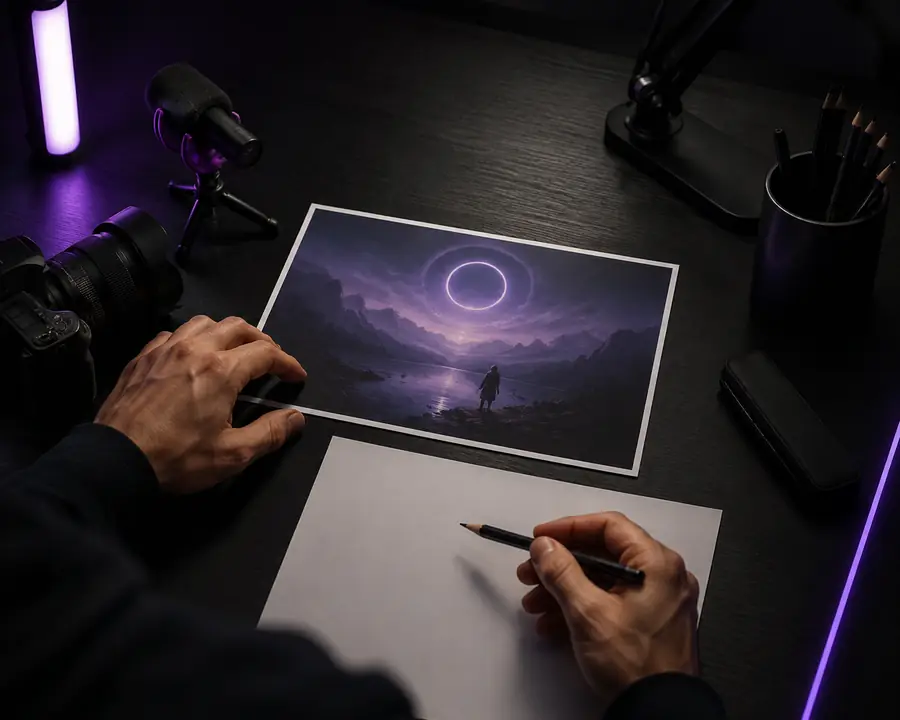
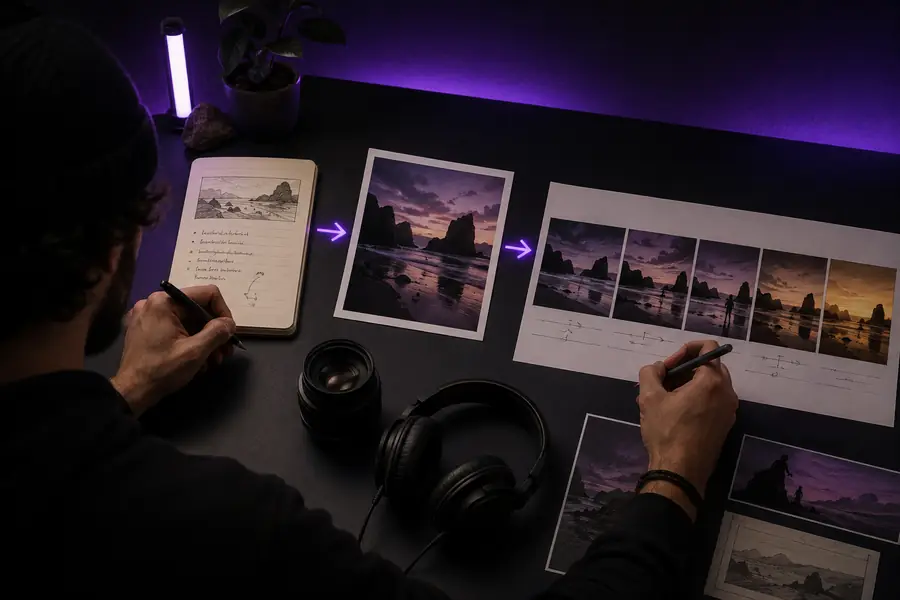
A useful comparison checks whether the subject stays recognizable while the requested motion remains visible and natural.
Start with a clear image, describe one primary motion, generate a first draft, then refine the prompt or source image based on what you see. Reviewing the full clip is more useful than judging only the opening frame.
Simplify the prompt, reduce the amount of movement, and use a sharper source image. Make one adjustment per attempt so you can tell which change improved the result.
No. The essential process is image selection, motion description, review, and export. Editing skills become helpful later when you want to combine several short clips, add sound, or build a longer story.
A short history of the workflow
Image animation has become easier because the workflow now separates creative direction from technical production. The timeline below explains why today’s short, prompt-led approach feels more approachable than traditional frame-by-frame work.
-
Still images became starting points
Creators increasingly treated a finished image as the first frame of a story rather than the final asset.
-
Motion prompts became more specific
Simple directions about camera movement, speed, and atmosphere helped people guide short clips with fewer attempts.
-
Short-form workflows moved into one workspace
Planning, image creation, motion experiments, and revisions began to sit closer together, reducing the friction between idea and draft.
-
The best results come from focused iteration
A clear source, one visible action, and deliberate review still outperform overloaded prompts, even as the tools become more capable.